Summer is finally here! My initial reaction to summer vacation is relief. Hooray for more flexibility in our schedule. No more school. Less rigid bedtimes. And best of all, forget the usual morning routine of trying to get kids ready for school, which at my house still feels like herding cats.
But my feelings of relief quickly give way to thoughts of – what are we going to do to fill our days? I don’t feel personally responsible to entertain my kids 24/7, but I want to enjoy our vacation together. I liken my parenting style to a cruise director. I like planning fun activities to do with my kids that allow for fun and bonding.
I am sure many of you can relate too. So I thought it would be fun to share some of our favorite activities to do together:
Chalk art
What you will need:
- Sidewalk Chalk
- Painter’s Tape
- A wall, driveway, or sidewalk
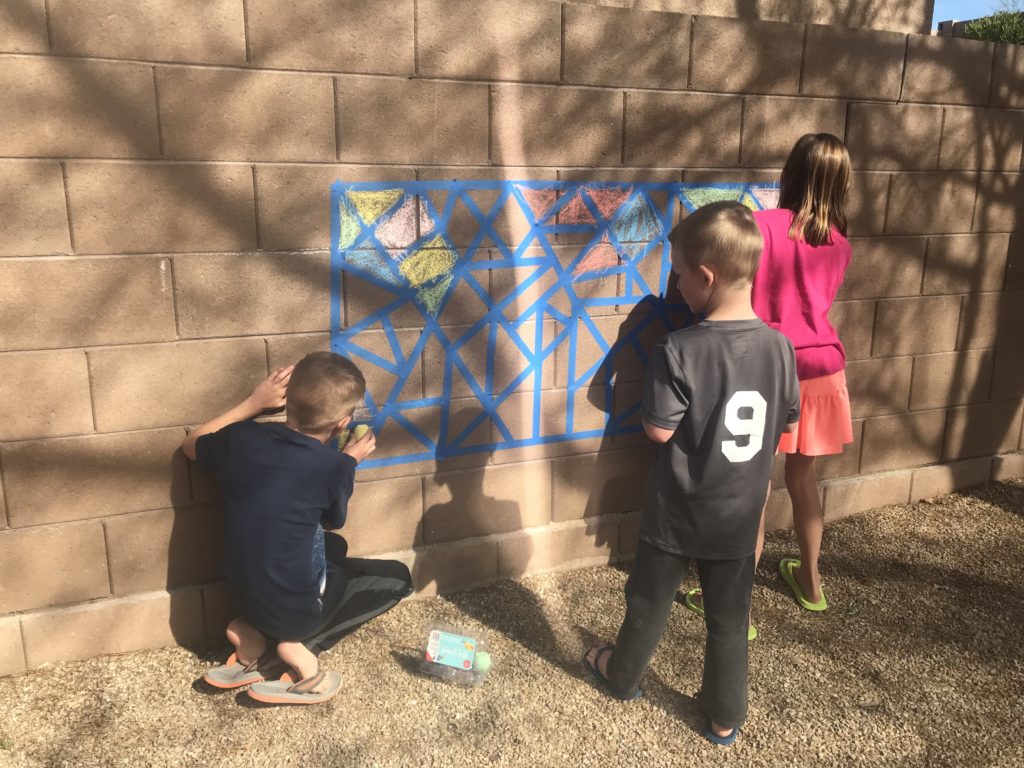
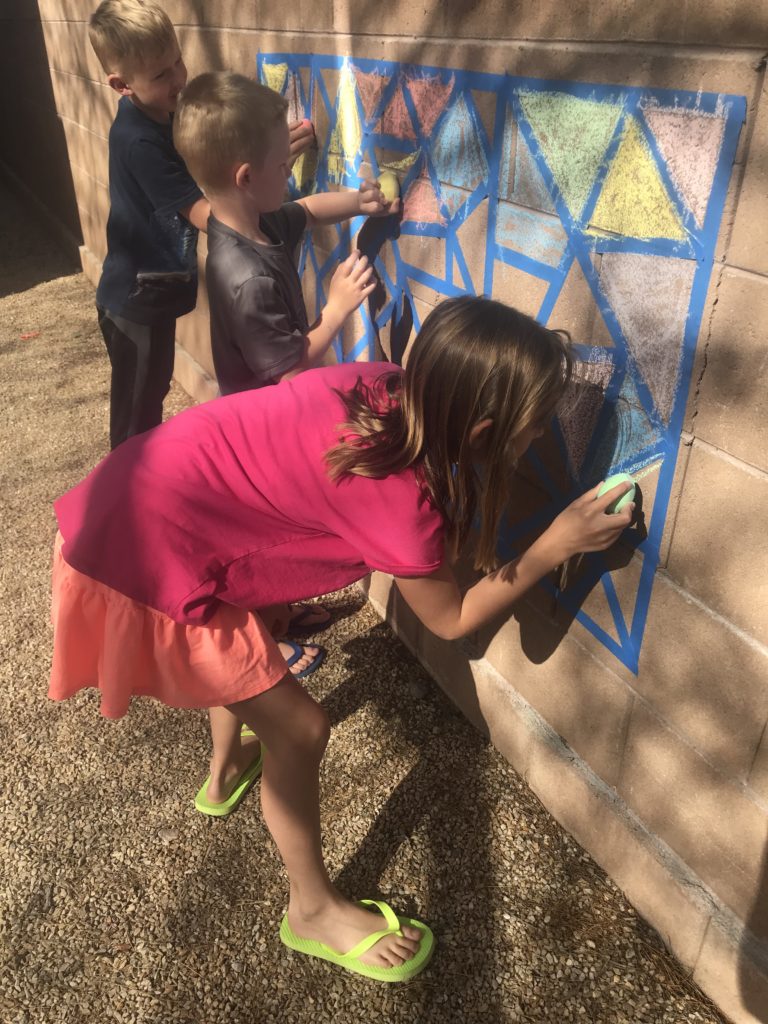
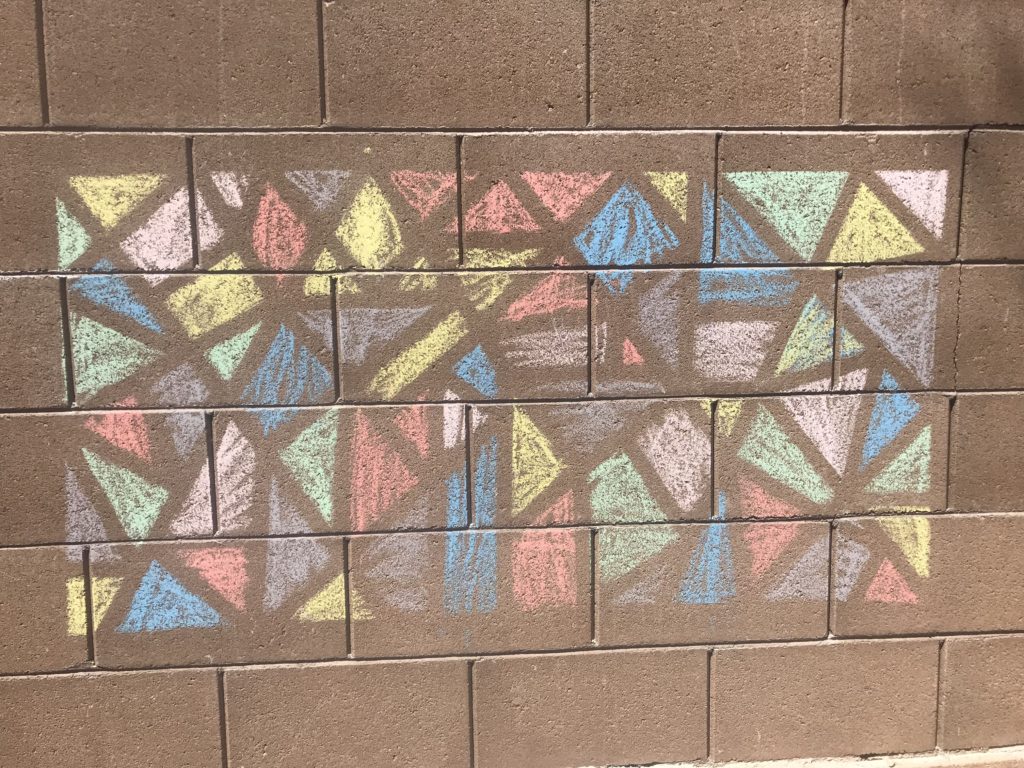
This is a fun activity that works for almost any age. Using painter’s tape create a rectangular box. Then place strips of painter’s tape at angles across your rectangular box (see left image above for further clarification). You can place them at any angle to create a pattern of geometric shapes. Keep it simple or get as fancy as you like (we have done a cross embedded in the geometric pattern).
Have your child(ren) color the different geometric shapes with various chalk colors. When all the shapes have been colored you or your child(ren) can pull the tape off to reveal their masterpiece.
Have a Snowball Fight
What you need:
- Ice
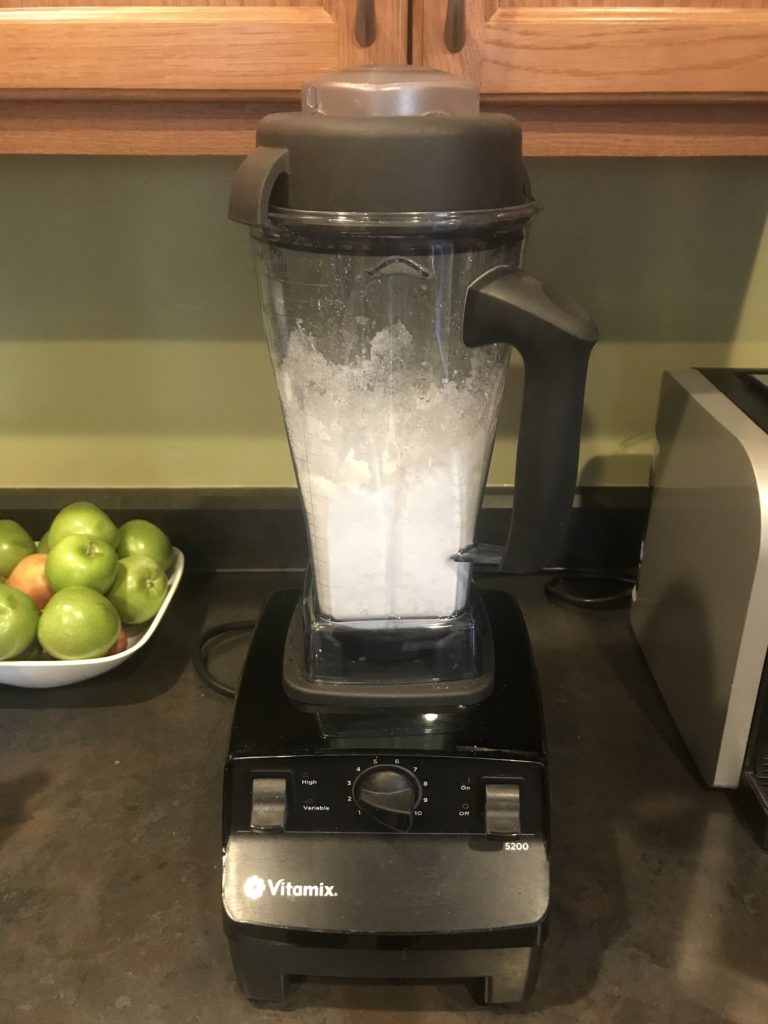
- Blender
- Cookie Sheet (or a bowl)
- Gloves (optional)
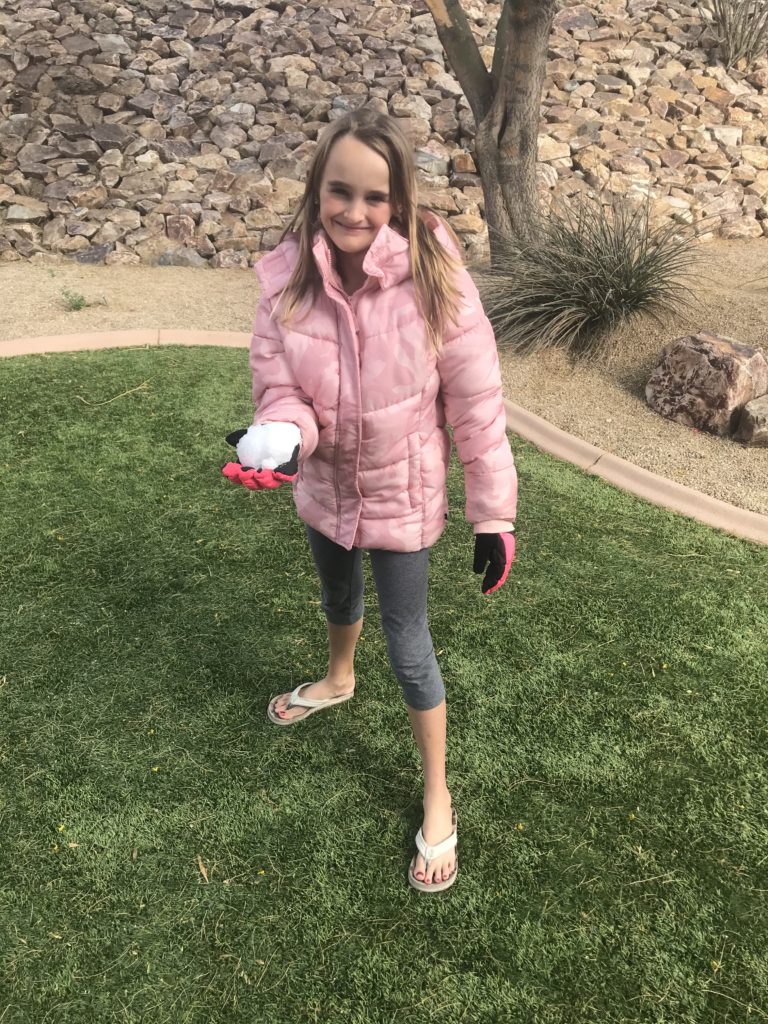
A snowball fight in summer?! Absolutely! You are one blending session away from snow. Blend ice in blender until it reaches a snow consistency. I normally blend two or three blenders full of ice and dump them onto a cookie sheet for my kids.
My kids LOVE this! They love to make tiny snowmen on the cookie sheet and of course they have epic snowball fights. They ask if we can make snow all the time.
Dino Smash
What you need:
- Disposable cups (or plastic containers roughly around that size)
- Plastic dinosaurs (or other small toys that can be frozen)
- Rubber mallet
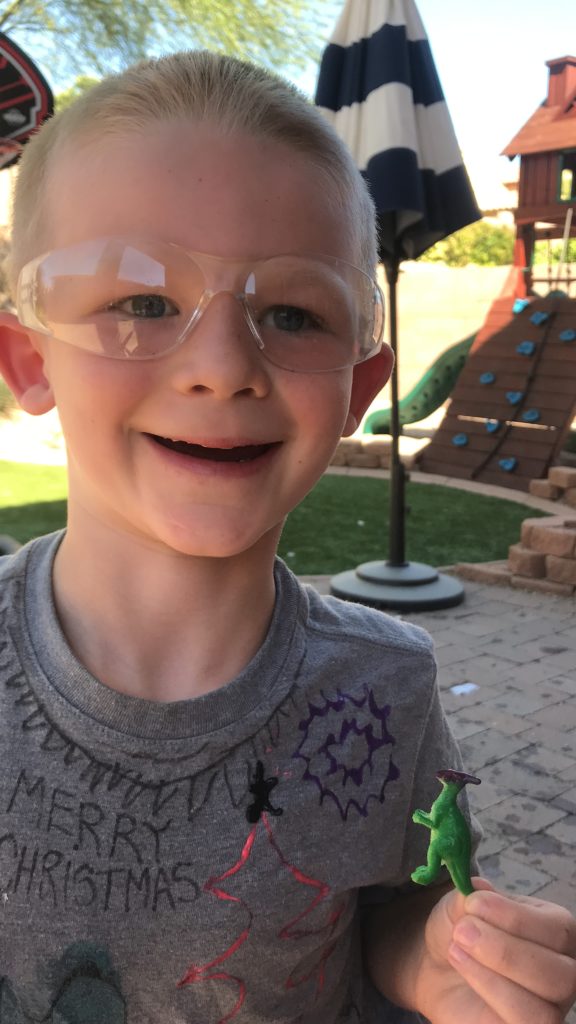
- Safety glasses
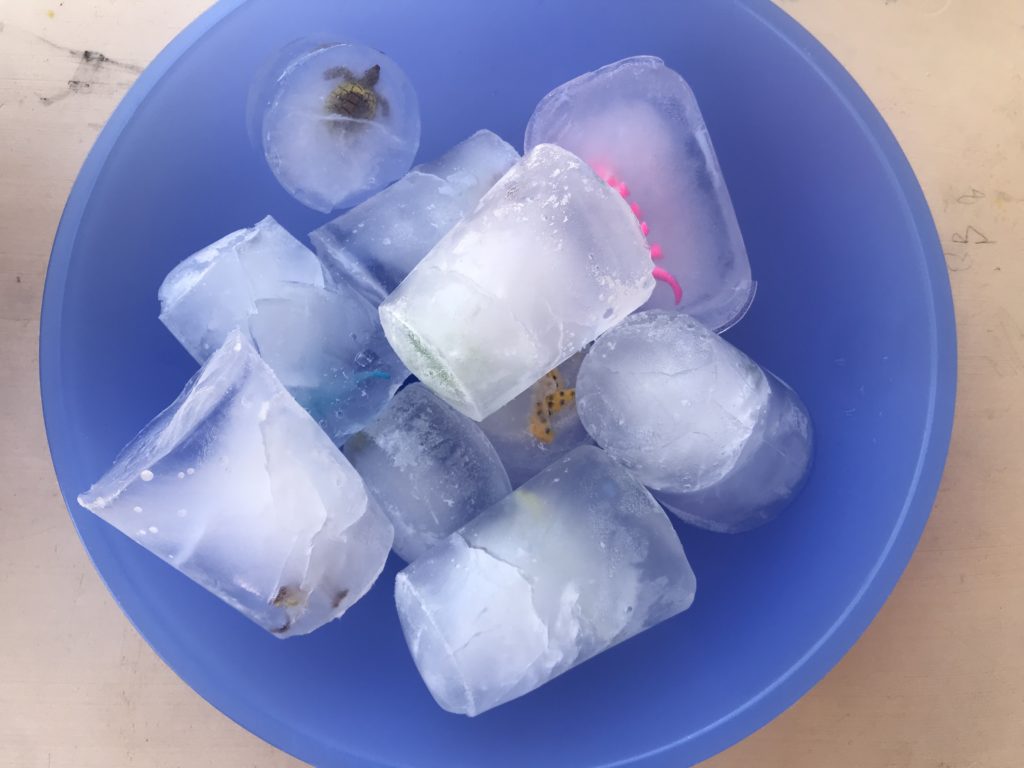
This takes a little advance prep work, but it is fun. Fill a disposable cup or a plastic container half full of water and freeze. This may seem like an extra step, but if you don’t do this your small toy will most likely sink to the bottom. Ideally you want the toy in the middle of the ice obscured from view. Once frozen, remove from the freezer. Place a small plastic dinosaur (or any small toy that can be frozen) on top of the ice. Add water. Freeze.
Remove ice blocks from containers and place in a bowl. Make sure your child(ren) (and any close bystanders) are wearing safety glasses to protect their eyes. Let your child(ren) use a rubber mallet to smash the ice block and reveal their hidden prize.
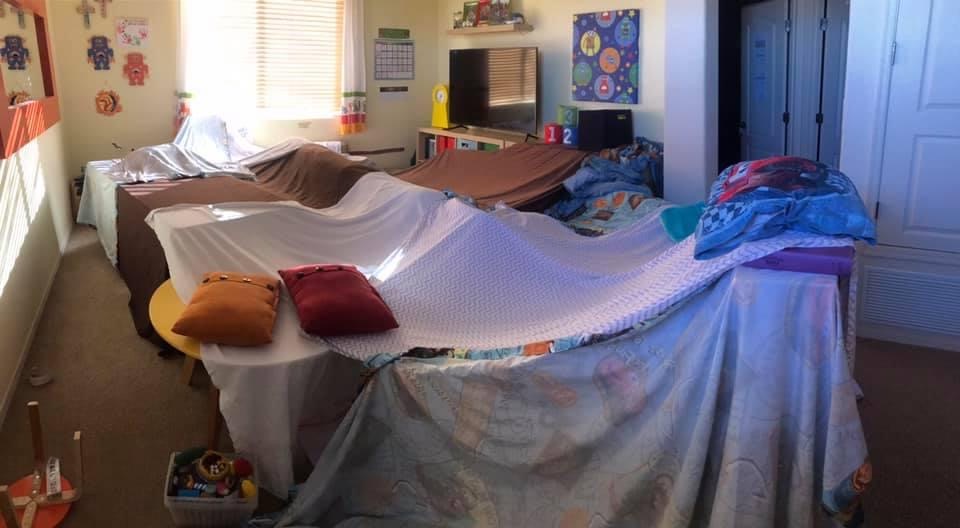
Forts
- Blankets
- Sheets
- Pillows
- Chairs, Tables, Sofas, etc.
Construct a fort with your child(ren) using blankets, sheets, pillows, and furniture. Let your (and your child’s) imagination run wild. We have built forts with separate rooms for each child (pictured above). Whatever you do, just have fun with it. When you are done plan a special activity like reading time in the fort, watching a movie from the fort or even a campout in the fort.
Carnival games
- Various Household items & toys
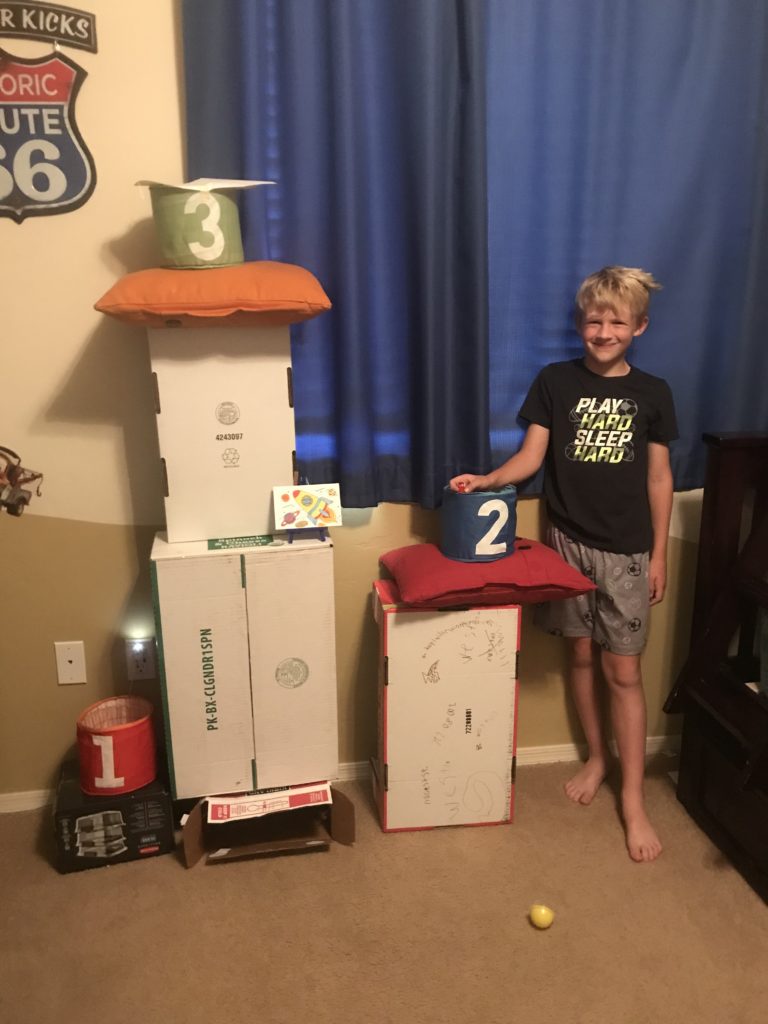
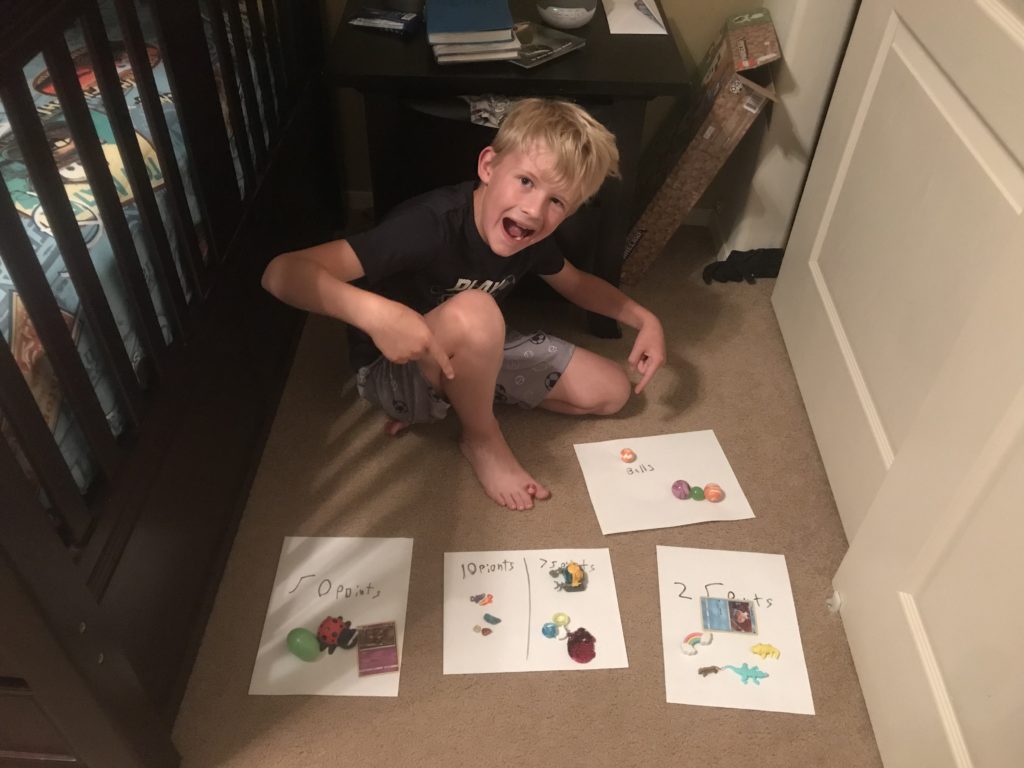
This one may be better suited for older kids, but ask your child to make their own carnival game using items from around the house. They create the game and the rules. If they like, they could even select various prizes. Then everyone takes turns playing their game. If you have more than one child, everyone can take turns playing each child’s game.
Nailed it!
- Cake Mix
- Frosting
- Any other baking supplies you may need (eggs, oil, butter, fondant, candy eyes, cake pop sticks, etc.)
Are you familiar with the Netflix show “Nailed It?” If not, it is a baking competition consisting of amateur bakers. The bakers are given baking challenges that require they replicate professional cakes, cake pops, cookies, etc. When they reveal their final creations they usually exclaim: “Nailed It!”
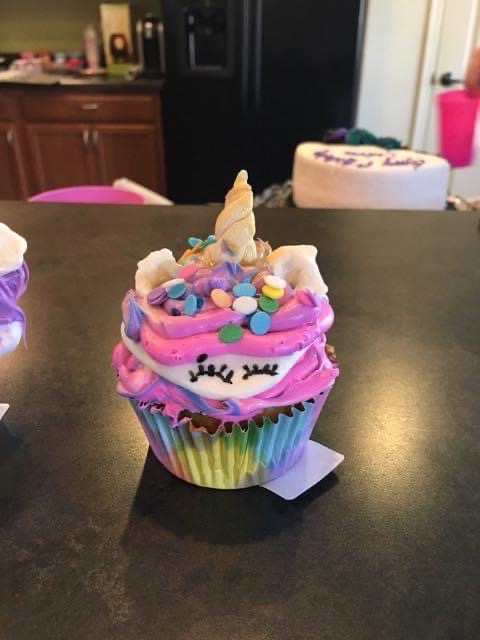
My kids love this show. We have hosted two “Nailed It” birthday parties and at least one “Nailed It” baking challenge just for fun amongst ourselves.
To create your own “Nailed It” baking challenge have you or your kids decide what to create. I recommend coming up with an idea and then searching the internet for an example.
Print out a picture of the professional baking masterpiece. Then let your kids go for it. I also recommend using box cake mixes and premade frosting just to expedite the process. After all, the real fun and creativity happens during the decorating phase.
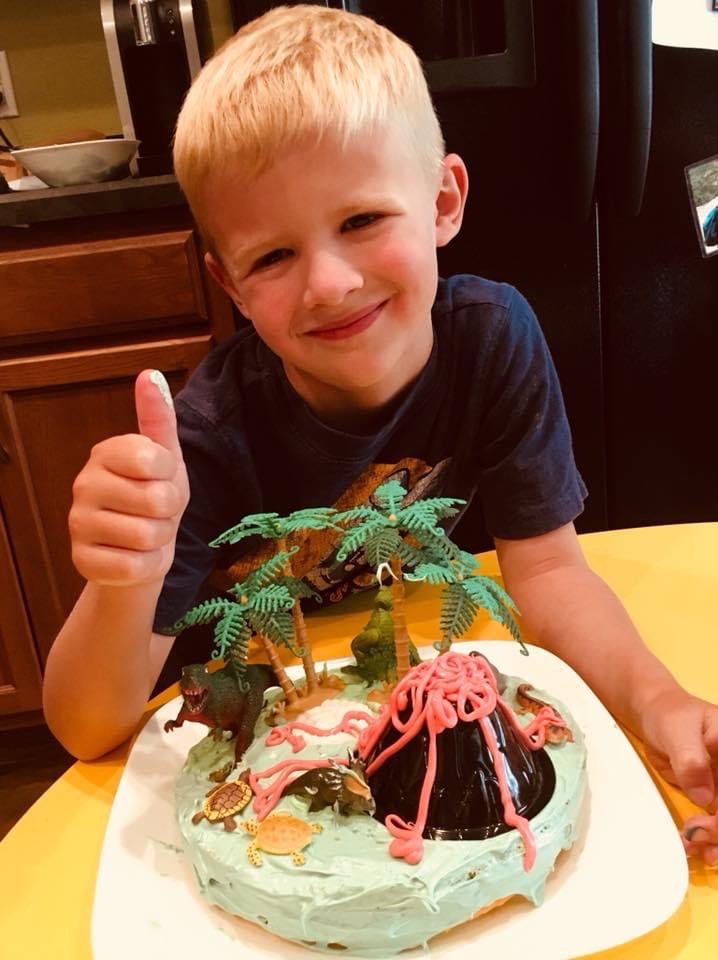
When it comes to decorating, keep the ages of your children in mind. When my son was 3, he made a dinosaur cake (pictured above center). We used plastic dinosaurs, palm trees, and a volcano. He oozed red frosting all over the volcano to create an eruption.
I currently have all the supplies for a “Nailed It” baking challenge in my pantry. That same son wants to make another volcano, but this time he wants to model it out of Rice Krispies (a trick he recently saw on the show itself). So, we are going to try that version now that he is older and more advanced.
The “Nailed It” show picks winners. We did that at the birthday parties. There were two rounds and the winner of the first round got a golden headband with pom-poms attached to golden springs. The final winner was awarded a disposable chef’s hat from a party supply store.
When it is just my kids I don’t make it a competition. You can decide whether to make it a competition or not. Either way, the goal is to keep it fun for your child(ren).
I hope these ideas create fun memories for you and your child(ren) this summer. Savor the moments. Revel in their laughter and joy. Don’t just watch them have fun, embrace your own childlike spirit and get in on the fun too.
